Install FTP Server Using Filezilla Windows
by admin in FTP Clients software
Install FTP server with filezila server software, in this article I will guide you to install FTP server with filezila server software, create and setting Users, share folder and how to use FTP client software to upload files to the server.
1. Install filezilla server
Step 1: Download FileZilla Server software for Windows.
Step 2: When the download is complete, double click on file download to start the installation (file download is below).
Step 3: When the installation is finished, run the installed FileZilla application, click Connect to start configuring your new FPT Server.
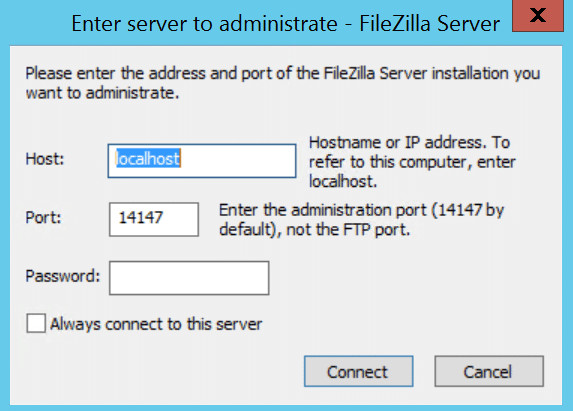
Install filezilla server
2. Configure the FTP server
Step 1: Create a Group to manage Users
Group will make it easier for us to manage many similar user accounts. The first thing to do here is to create a new Group, then assign each separate account to this group. You choose the menu Edit > Groups and Select Add as below:

Add group
In the Main Menu, select Edit -> Users -> Add a new user and in the following group section, select the group you want.
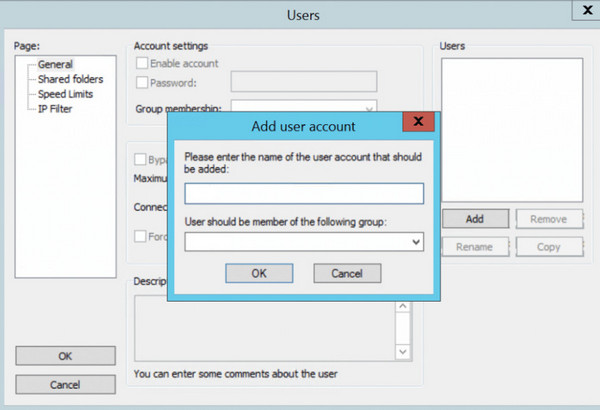
Add User
Next, we select Enable account and enter the Password for this user.
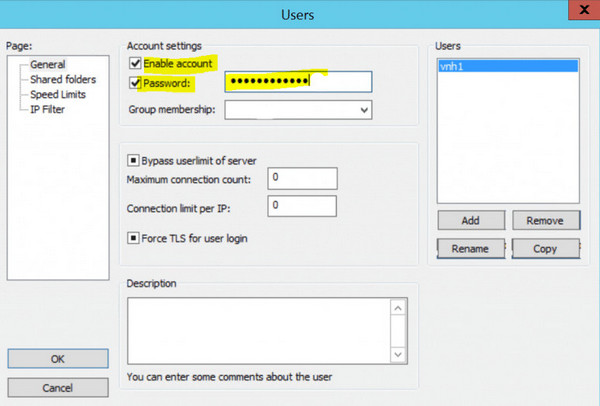
Account setting
Step 2: Create folder share settings
When you’re done adding new Users, select Shared Folders on the left, click Add under the Shared folders dialog box to choose which folders on your computer will be shared via FTP.

Add folder
After selecting the folder to share, we give this user permission to read, edit, or delete when performing FTP. If you want to be read only by the user and do not have permission to edit or delete, you can uncheck write, delete,…

Set permission
3. Access filezilla from Clinet
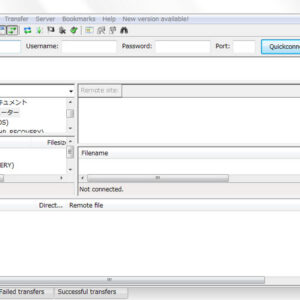
After completing the configuration steps on Filezilla Server, we use the filezilla client on the client to be able to connect FTP to the server.
We fill in the Host, IP and Password information to be able to connect to FTP.
Note: In some cases we will not be able to connect because the firewall port has not been opened. So if this is the case, we can open the firewall port by the following.

Select port number 21 by default
– Go to the Start Menu, enter Windows Firewall in the Search box and then click Windows Firewall with Advanced Security.
– On the Windows Firewall with Advanced Security interface, click Inbound Rules in the left column and then select New Rule… in the right column.
– You will be allowed 1 port through the Firewall. When asked “What type of rule would you like to create”, click on Port and then select Next.
– Enter the port you want to choose for the FTP Server to run on (port number 21 by default).
– And then click Next to finish.
We can then connect FTP to the filezilla client now.
4. Download FileZilla Server
The latest stable version of FileZilla Server is 1.2.0
Filezilla Server for Windows Size: 4.5 MB. The 64bit versions of Windows 8.1 and 10 are supported.
Filezilla Server for MacOS Size: 5.8 MB. Requires macOS 10.13.2 or newer
Filezilla Server for Linux Size: 3.83 MB. Linux (64bit x86)
Bài viết liên quan
Download FileZilla Client for Windows - Mac OS - Linux
FTP Clients software
Download WinSCP - Trusted software for uploading data to a high-speed server
FTP Clients software


Your comment